
Data analysis doesn’t always have to be intimidating. By leveraging powerful Python libraries and Google Colab’s user-friendly platform, you can dive into data analysis without any installations or setups. This guide is tailored for beginners and will walk you through a practical application: analyzing survey comments.
Problem Statement
You’re handed a survey dataset. While columns filled with numbers might look more manageable, the ‘comments’ column, brimming with text, looks daunting. Reading each comment? Time-consuming and inefficient.
The Power Trio: Python + Pandas + NLTK on Google Colab
Google Colab is a free-to-use platform that allows Python coding in the cloud. Couple this with the capabilities of Pandas and NLTK, and you’ve got a robust toolkit to tackle your data.
Step 1: Setting up on Google Colab
- Open Google Colab
- Navigate to
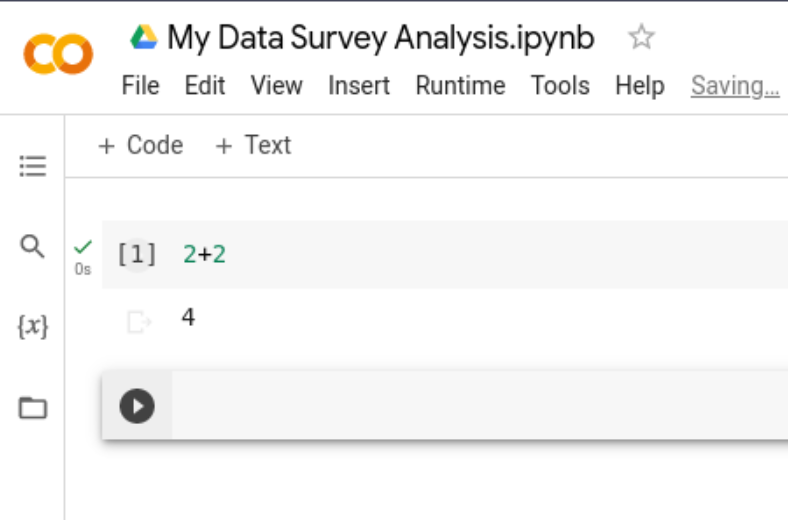
File > New Notebook. - Familiarize yourself with the interface. To rename your notebook, click on the default ‘Untitled0.ipynb’.
- To execute any code cell, press Shift + Enter.

Test your setup: Type 2 + 2 in a new cell and press Shift + Enter. Voila, you should see the number 4!
Step 2: Fetch the Dataset
- Download the sample survey data.
- Unzip the file to reveal the CSV.
- Return to Google Colab and execute:
from google.colab import files
files.upload()
A prompt will appear. Upload your CSV. This process places the CSV in Colab’s virtual /content directory.
Step 3: Harness the Libraries
Load the essential libraries by running the code below. These modules are the workhorses behind our data manipulation and analysis:
import string
from collections import Counter

import nltk
import pandas as pd
from nltk.corpus import stopwords
from nltk.corpus import wordnet
from nltk.sentiment import SentimentIntensityAnalyzer
from nltk.stem import WordNetLemmatizer
from nltk.tokenize import word_tokenize
Step 4: Preparing the Data
1. Loading the Dataset:
Load the dataset into a pandas DataFrame:
df = pd.read_csv('/content/survey.csv')
Inspect the initial rows to understand the dataset structure:
df.head(20)

The snapshot of the dataset will give you an overview of its structure and potential issues. (Please refer to the image for an actual visual.)
2. Handling Missing Values:
If you observed ‘NaN’ entries in the ‘comments’ column, these typically represent missing data. Such values could be due to various reasons like incomplete user responses or issues during survey data collection.
For our purpose, we’ll treat these missing comments by replacing them with an empty string:
df['clean_comments'] = df['comments'].fillna('')
df.head(20)
3. Preparing the Tools:
Before we delve into sentiment analysis, let’s set up the necessary tools. First, ensure that the NLTK library has all required datasets:
nltk.download('punkt')
nltk.download('wordnet')
nltk.download('stopwords')
nltk.download('averaged_perceptron_tagger')
nltk.download('vader_lexicon')
Now, initialize the text processing tools:
lemmatizer = WordNetLemmatizer()
stop_words = set(stopwords.words('english'))
The WordNetLemmatizer is a tool from the Natural Language Toolkit (NLTK) for Python. It is used to perform lemmatization on words. Let’s break down what lemmatization means and how the WordNetLemmatizer works:
Lemmatization is a process in natural language processing (NLP) where we convert a word to its base or root form. For example:
"running" → "run"
"better" → "good"
"geese" → "goose"
The main idea is to reduce inflected (or sometimes derived) words to a base or dictionary form. This is often useful in text processing tasks like text classification or clustering, as it can reduce the dimensionality of the dataset and allow different forms of a word to be treated as the same.
4. Text Preprocessing:
To ensure that our sentiment analysis is accurate, it’s essential to preprocess the comments. This includes tokenization, lemmatization, and removing stop words:
def get_wordnet_pos(treebank_tag):
"""Map POS tag to first character used by WordNetLemmatizer"""
if treebank_tag.startswith('J'):
return wordnet.ADJ
elif treebank_tag.startswith('V'):
return wordnet.VERB
elif treebank_tag.startswith('N'):
return wordnet.NOUN
elif treebank_tag.startswith('R'):
return wordnet.ADV
else:
return wordnet.NOUN # by default, treat as noun
def preprocess_text(text):
tokens = word_tokenize(text)
tokens = [word.lower() for word in tokens]
tokens = [word for word in tokens if word.isalpha() or word in string.punctuation]
pos_tags = nltk.pos_tag(tokens)
tokens = [lemmatizer.lemmatize(word, get_wordnet_pos(pos)) for word, pos in pos_tags]
tokens = [word for word in tokens if word not in stop_words]
return " ".join(tokens)
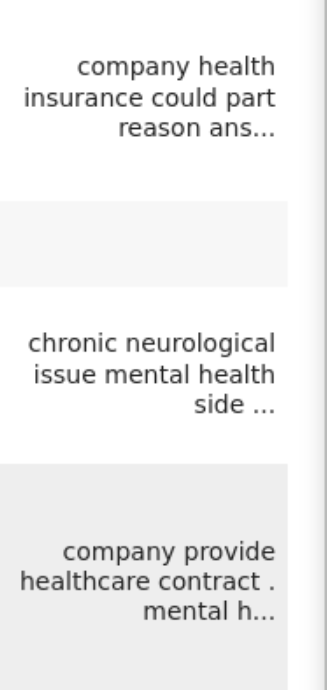
df['processed_comments'] = df['clean_comments'].apply(preprocess_text)
df.head(20)
The DataFrame now has a new column, ‘processed_comments’, which contains the processed text. (Please refer to the image for a visual overview.)
With our data prepared, we’re set to move to the next step: Sentiment Analysis.
Step 5: Analyzing Sentiments
To get insights from the comments, we’ll first categorize them based on sentiment using the SentimentIntensityAnalyzer:
sia = SentimentIntensityAnalyzer()

def get_sentiment(text):
    sentiment_score = sia.polarity_scores(text)['compound']
    if sentiment_score >= 0.05:
        return "positive"
    elif sentiment_score <= -0.05:
        return "negative"
    else:
        return "neutral"

df['sentiment_comments'] = df['processed_comments'].apply(get_sentiment)
Let’s now inspect our dataset with the newly added sentiment column:
cols = ['comments', 'clean_comments', 'processed_comments', 'sentiment_comments']
df[cols].head(20)
To further analyze, we’ll segregate the comments based on their sentiment:
df_sentiment = df[cols]

negatives_df = df_sentiment[df_sentiment['sentiment_comments'] == 'negative'][['comments', 'processed_comments']]
negatives = negatives_df['comments'].tolist()

positives_df = df_sentiment[df_sentiment['sentiment_comments'] == 'positive'][['comments', 'processed_comments']]
positives = positives_df['comments'].tolist()
Let’s preview some of the comments to better understand the sentiments:
Negative Comments Sample:
for i in range(3):
    print("{}\n".format(negatives[i]))
Output:
Our health plan has covered my psychotherapy and my antidepressant medication. My manager has been aware but discreet throughout. I did get negative reviews when my depression was trashing my delivery but y’know I wasn’t delivering.
In addition to my own mental health issues I’ve known several coworkers that may be suffering and I don’t know how to tell them I empathize and that I want to help.
In my previous workplace which had mental health protections policies and access to counsellors my Director went so far as to say to me in somewhat casual conversation A woman was murdered across the street. At best though she was bipolar and at worst - who knowsI have bipolar disorder. I have zero faith that an organization with policies in place could appropriately handle mental health. I have even less faith that a workplace without the policies in place could appropriately handle mental health. I can only imagine it’s worse in full tech environments.
Positive Comments Sample:
for i in range(3):
    print("{}\n".format(positives[i]))
Output:
I have chronic low-level neurological issues that have mental health side effects. One of my supervisors has also experienced similar neurological problems so I feel more comfortable being open about my issues than I would with someone without that experience.
Sometimes I think about using drugs for my mental health issues. If i use drugs I feel better
I selected my current employer based on its policies about self care and the quality of their overall health and wellness benefits. I still have residual caution from previous employers who ranged from ambivalent to indifferent to actively hostile regarding mental health concerns.
From the samples, we can observe some genuinely positive and negative sentiments from the comments. These can be further analyzed to gain deeper insights.
To wrap up this step, we’ll identify common themes or keywords in the negative and positive comments:
Step 6: Finding Common Themes
To derive more value from the comments, let’s identify the most recurrent themes or issues. This can help in understanding common pain points or positive aspects that respondents are talking about.
def most_common(df, top_n=10):
    all_words = [word for word in ' '.join(df['processed_comments']).split() if word not in string.punctuation]
    word_counts = Counter(all_words)
    top_10_words = word_counts.most_common(top_n)

    return top_10_words
This helper function calculates the top 10 words from the ‘processed_comments’ column.
Now, let’s run the above function for both negative and positive dataframes:
print(most_common(negatives_df))
Output:
[(‘health’, 45), (‘mental’, 41), (‘issue’, 22), (’employer’, 21), (‘depression’, 20), (‘work’, 19), (‘would’, 15), (‘bad’, 12), (‘people’, 12), (‘insurance’, 12)]
print(most_common(positives_df))
[(‘health’, 63), (‘mental’, 55), (‘work’, 36), (‘issue’, 30), (’employer’, 26), (‘company’, 25), (‘would’, 21), (‘know’, 17), (‘people’, 17), (‘get’, 15)]
It’s evident that ‘health’ and ‘mental’ are dominant themes in both negative and positive comments. This is expected given the context of the dataset. For the negative comments, other notable themes include ’employer’, ‘depression’, and ‘insurance’. Understanding these themes can provide actionable insights for organizations looking to address specific concerns.